Hello again! So sorry that I missed posting this last week. I sprained my wrist and typing was seriously not working for me. After several attempts, I thought it would be better if I let my wrist heal rather than make a two week injury last four or five weeks.
This week, I’ll be talking about dresses; bridesmaids, attendants and a few others.
Bridesmaids
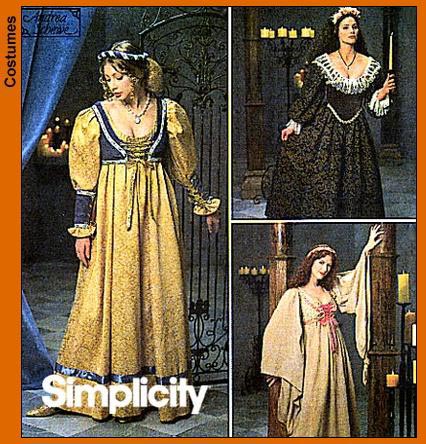
I’ve already mentioned that I used Simplicity pattern #8735 for the bridemaid dresses, and specifically this version which I believe is style B.
In Costume Corner – Renaissance Wedding, Part 1, I talked about the main modification to the dresses, the separate underskirt. The underskirt was made with silkessence and a rounded elastic neckline. We made a minor adjustment with the gauntlets, the floating sleeve pieces. I opted to eliminate them from my dress but the bridesmaids liked them so they were left in their outfits. The pattern had them attach with grommets and ribbon or cording. Our original experience with setting the grommets was not successful so we opted to go with out them. My bridesmaid in the purple dress, Bea*, added elastic to hers which worked great. I wanted to add elastic to the others but the outfits were already with the bridesmaids. We were in the final stretch and due to the time crunch, schedules, and geography it just didn’t happen. The gauntlets ended up a little slouchy over extended wearing but it was a little thing, so I didn’t stress about it.

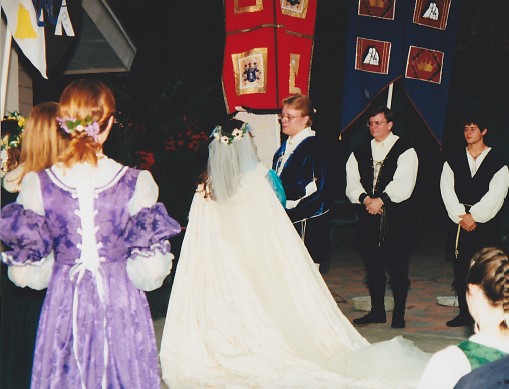
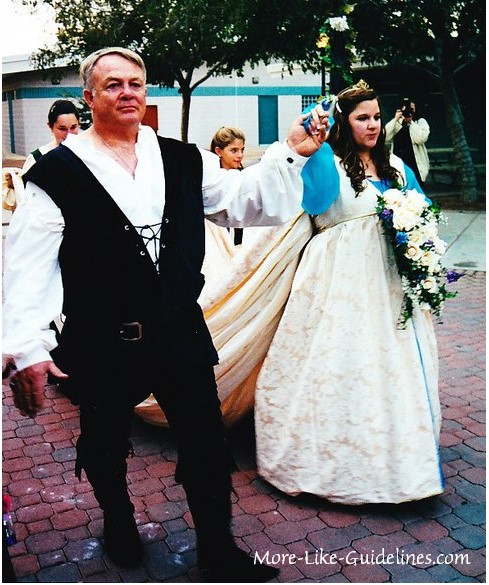
This first photo is my sister and Matron of Honor in burgundy and silver as she walks down the aisle. All four of my bridesmaids are shown in the next image, showing the different colors. I am going to go ahead and brag about making the bouquets too. They were fun to make and turned out exactly how I wanted them. In the final photo, you can see Jay and Bea walking down the aisle. You can see the nice flow of the dress as she walks. I helped with Bea’s dress but she did a fair amount of the finish work too.
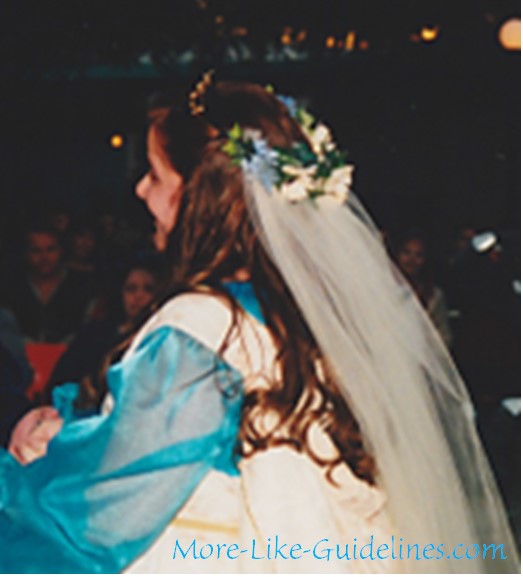
 Here you can see the back of Bea’s dress. I finally got the hang of setting grommets and they looked great strung with the ribbon. Bea used metallic silver ribbon to lace the back closed. It took a fair amount of time and dexterity to lace the dresses, not overly complicated but not a super quick thing either.
Other dresses
I made a fifth bridesmaid dress for a friend that took on the job of stage manager the day of the wedding. She made sure that everyone was in the right place when the wedding started. Each bridesmaid and groomsman knew when to start down the aisle and my two flower girls felt very comfortable knowing they had someone right there to help them know when to go. My two nieces that helped to carry my train down the aisle had similar dresses with simple muslin underskirts and no gauntlets.

Simplicity #8192
I used Simplicity pattern #8192 for two friends, one helped with my hair and makeup and the other was in charge of the guest book. I don’t have any good pictures of their dresses** I used the main style from the pattern except I changed it so the little top laced in the back. Neither friend was fond of the overly boob-ish look when laced in the front. Modifying the over-bodice wasn’t too difficult, I combined this pattern with the bodice pattern from the bridesmaid dresses.
One dress had a lavender underskirt with a silver over-bodice. The other was a dark red underskirt, with a woolen plaid over-bodice to reflect her Scottish heritage.
Flower girls

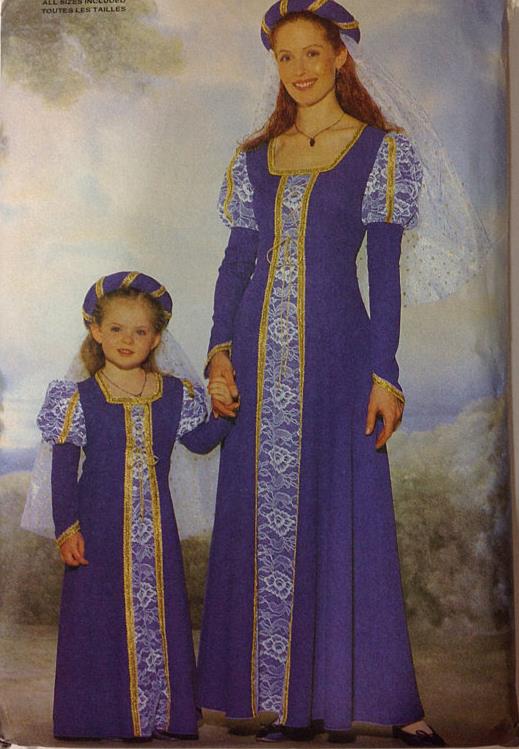
Butterick #6203
My two youngest nieces were my flower girls. I found this pattern, Butterick #6203, it was clearly a different style but it was so cute that it wasn’t an issue at all.
A decision was made early on in the wedding planning that my family would be wearing burgundy and silver. While growing up my father was a high school football coach and many of those years had been spent at the same school. My father started teaching at the school the year before I was born and was still there while my older brother, then my sister attended and me, as the youngest. It just seemed logical that that the family colors would be red and gray, or for Renaissance sake, burgundy and silver.
I’ve already mentioned my sister and posted a photo of her dress. My brother and his wife, have four kids, so they did a lot of sewing. My sister-in-law and eldest niece wore burgundy velvet dresses that looked almost exactly like the photo on the pattern, they looked amazing.

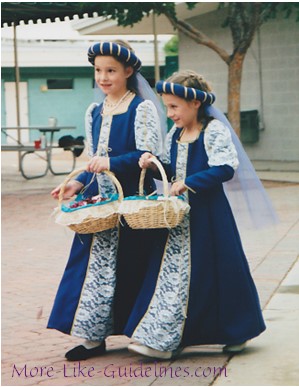
My two youngest nieces though saw the pattern and insisted on purple. I remember talking to my brother about the issue. He had put off the call because he didn’t want to upset me since he knew I was busy with wedding prep. I think I said something about if the girls wanted to wear purple that I was fine with that. I heard a big sigh and “oh good, because they both were pretty adamant on wearing purple dresses.”
When I saw my nieces the morning of the wedding, I was blown away. The dresses were amazing and they were so proud of how pretty they looked. Yes, there was twirling. Honestly, they couldn’t have been cuter. It’s been almost fourteen years since then and they are both in college, hopefully they won’t hate me for posting this photo but it’s one of my favorite memories from the wedding.
Mother of the Bride
My mother’s dress was kind of an unknown entity. During planning my mother wasn’t exactly helpful, not that she was difficult really. There were a few things going on but she kept saying stuff like “oh whatever you want to do, is fine with me.” Of course, that translated to me that she wasn’t that interested in her dress.
 On one of my shopping trips I found a black velvet with a glittery silver pattern. I know black seemed like an odd choice but I just thought it would perfect. There was something really classic and regal about it. My mom was really skeptical and I told her to trust me, and, well, she did and it turned out great. I made my mother’s dress almost completely without a pattern. She was cooking and I had my sewing machine set up on the kitchen table. I would measure her and then cut stuff out
and then sew it together and try it on her. Essentially her dress is the same as the bridesmaids and family dresses but my mom was tiny. She was 4′ 10″ tall and weighed a little over 100 pounds, maybe. I made a silver underdress like the rest except I made custom sleeves. I used the black velvet but split the sleeves vertically in the middle and added a gusseted piece of the silver. This where I am going to brag, this was like a Project Runway moment for me, before the show was even on. I pretty much made these sleeves by ‘draping’ the fabric on her arm, I made marks using pins, cut it out and sewed it together. The overdress went over the underskirt and it looked great. My mother was impressed and then broke down in tears. She finally told me that her hesitance in getting involved had to do with not adding more stress for me and that she was a little in denial over her little girl getting married.
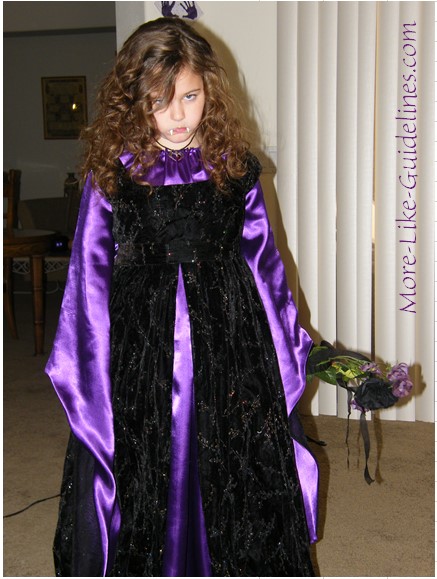
In 2009, we dressed as vampires for Halloween. Scarlet wore my mother’s overdress over a new purple underdress and looked quite tragic and soulless. If you click on the photo you can see the glittery pattern a little better.
Mother of the Groom

Butterick #6197

McCalls #7756
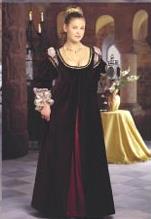
Cap’s mom made her dress from this pattern, Butterick #6197, which I loved. She used a dark royal blue brocade with a red underskirt. She took her hat from the pattern on the right, McCalls #7756.

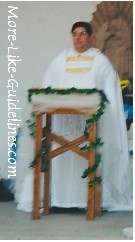
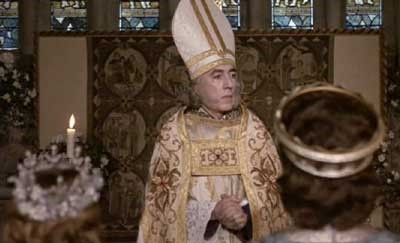
Next week, I will wrap things up with the groomsmen, other men’s outfits and the minister’s robe.
Costume Corner will be cross-posted at Cap’s blog, The Geek Registry.
*I won’t be using real names here, to protect the innocent. 🙂
** We had a problem with another person taking pictures with the flash while our photographer was working. Many of our photos were ruined by either weird lighting or closed eyes from the errant flash.


