Last week, I talked about where I got the ideas that inspired the attire for my Renaissance wedding. In this post, I am going to try to connect those original ideas with the actual garments.
I feel like I should start this off with mentioning that historical accuracy wasn’t really in the forefront of my thought process. It was my wedding; I wanted to look pretty, I wanted to be comfortable and I wanted people to have fun. I definitely wanted a Renaissance look, but, honestly, those three things were my main criteria.
My Wedding Dress

*Funny moment
As you’ve seen in the previous Costume Corner post, I incorporated a lot of blue into my dress. This happened for a number of reasons, the most important being that blue is my favorite color. The particular color I chose had to do with my engagement ring. Weirdly enough, I am not a huge fan of diamonds, I think they look great on other people but they’re just not that exciting to me. Sapphire and blue topaz have always caught my eye and thankfully Cap was an amazing listener. When he proposed he presented me with a beautiful ring, an oval cut blue topaz set on a white gold and yellow gold band. It was beautiful and perfect and I still love it fourteen years later. I’d post a picture but I lack the ability to take a good photo of the ring, and if I post a pic I want it to look as beautiful as possible. Also, no one needs to see my hands today, I was painting earlier and there are still some traces of Star Shine evident. No need to worry, all of my rings were removed earlier and are safe on my ring holder.

Glitter organza – Silkessence
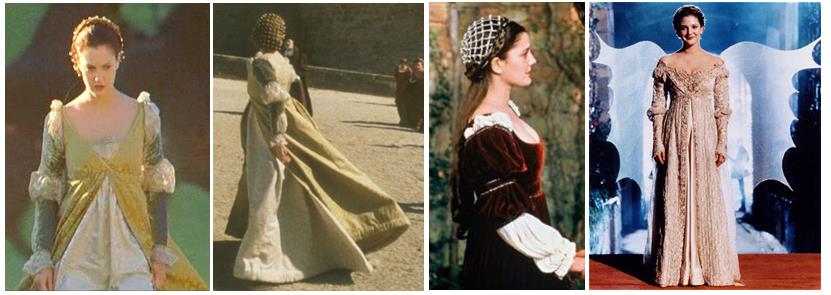
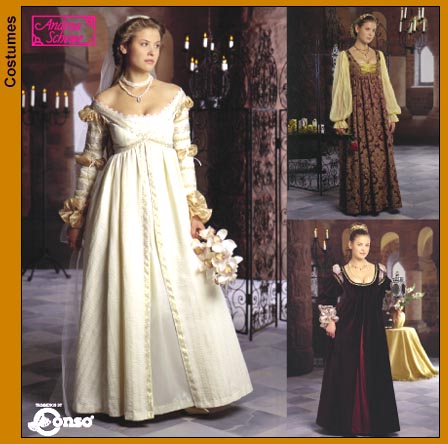
So, I knew that I wanted blue topaz in my dress, I also knew that the main part of the dress should be kind of bridal looking. I didn’t necessarily think it needed to be bright white but I didn’t rule it out either. I went through several ideas, a white dress with a sheer white overlay, a blue dress with a white underskirt, a white dress with a detachable train, a white dress with a blue cape, blue dress with a snowy white cape, white dress with a blue train, and probably twenty other ideas that I don’t remember at this point. When I came across the Simplicity #8735 pattern I began to really see what I wanted to do. I had found the Silkessence and the Glitter organza in the perfect shade of blue. All I needed to do at this point was find fabric that would go with the blue. I wandered through several fabric stores armed with some sample pieces of my blue fabric, finally I found something that caught my eye.
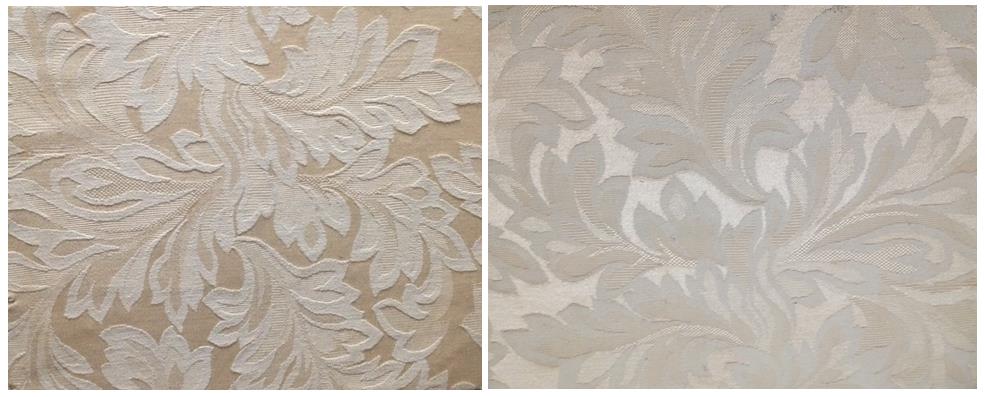
 I found this cream brocade at a large fabric store. I bought what was left on the roll which I believe came to about 20 yards. I knew I wanted a long train and since I wasn’t sure of the specifics it seemed smarter to buy it right then rather than needing to go back and hoping it would still be there.
I posted two photos to show both the pattern and the sheen, which clearly changes depending on how the light hits it. The cream colored floral pattern is raised with the champagne colored shiny background. The pattern and color seemed elegant and regal, which was perfect for the theme. I loved it, still do, and it went well with the blue.
Sewing notes –
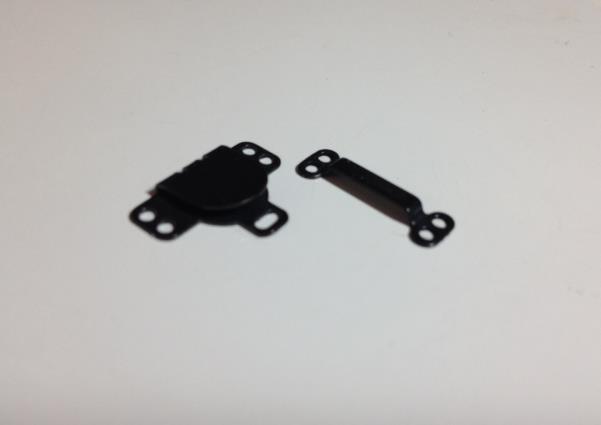
I already mentioned that I used the bodice from McCall’s pattern #2308, I should also mention that I modified it so that it clasped in the front. I could have done grommets and lace it up in the back like the bridesmaids dresses or added a zipper, which I believe was part of the actual pattern instructions. The overskirt was going to be open in the front so I thought it just made sense to have the bodice clasp in the front. Also, I love how the grommets and lacing look but they can be a pain to work with, add that to the weight of the fabric and the front closure just seemed like an even better idea. I cut the pattern pieces out of muslin first to test my idea out. I followed the pattern until I got to the middle part where the pattern piece would normally sit on the edge. Before I started cutting I had set the pattern about six inches from the edge, I stopped cutting the diagonal with about 5 inches left and cut straight across to the edge of the fabric. I cut out a one piece back piece and sewed the two together to make a mock up bodice. With the help of my mom and sister, we pinned the muslin until it fit the way that I wanted. I turned the muslin into a pattern for the actual bodice for my dress.

I used two hook and bar closures in the front, one at the ‘V’ where the front met and the second, slightly lower at the seamline where the bodice met the skirt. The two clasps worked perfectly with the heavy fabric and there was no worry that if I shifted that the front would open accidentally.
Train

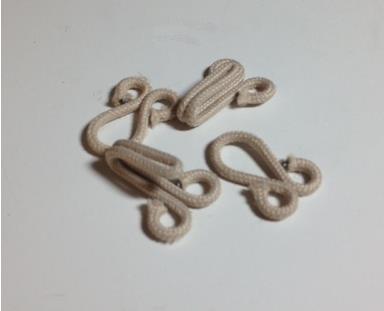
My train was made up of three panels of fabric, 54 inches wide and four yards long. At the top, I gathered it into large pleats and hand stitched them into place. Originally, the train was going to attach at the waist but the weight of the train pulled straight down making the front of the dress all scatterwhoppy (yes, that is the technical term). My mother suggested attaching it at the shoulders, which kind of satisfied my wish for a cape. I used large hook and eye closures, I sewed two eyes on each shoulder of my dress and matching hooks at the top of each side of the train. It attached and detached easily and didn’t cause the front of the dress to shift. There was some pulling during the ceremony when we turned to face each other and no one thought to rearrange the train behind me but it was a minor thing.
Veil
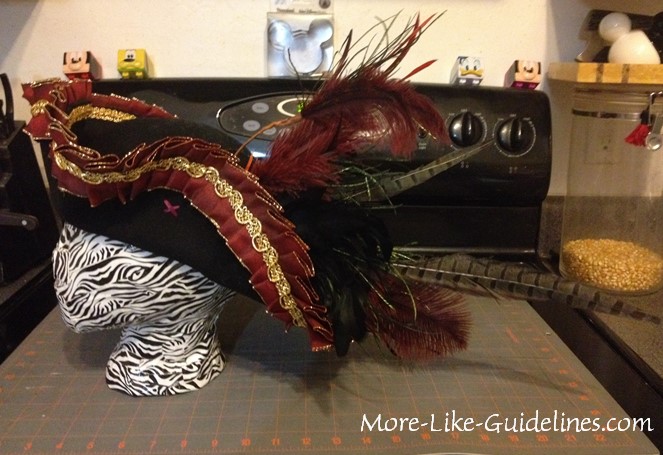
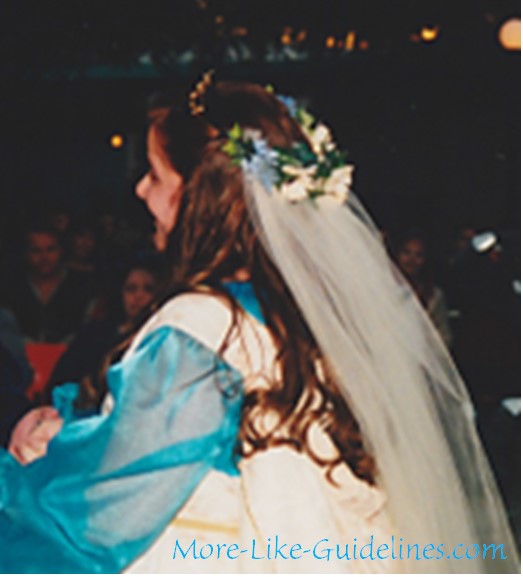
My veil was essentially the same as the train. I hand sewed three panels together, then gathered the top edges to the width that I wanted. I had a pretty but simple gold tiara, I wrapped ribbon around the ends, feeding it through the spaces between the comb teeth. I sewed snaps onto the ribbon and to the top veil edges, making the veil detachable for the reception. I added flowers to camouflage the gathers and turn the tiara into a flower crown.

The bottom edge of the veil was lined with gold oval beads. I hand sewed the beads on the veil and around the hem and front edges of my dress. The beads were strung on thread and then hand sewn onto the hem and the veil. I spent a lot of time hand sewing while watching TV those last several months before the wedding.

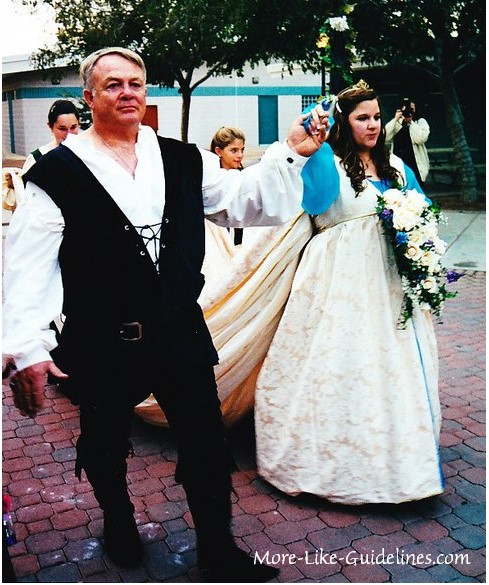
Fairly good view of my train and veil.
My Renaissance wedding was supposed to be one post but apparently I have a lot to say about it. Next week, I’ll be talking about dresses; bridesmaids, attendants and a few others. See you next week!
Costume Corner will be cross-posted at Cap’s blog, The Geek Registry.
* We were laughing in this photo because the minister began our ceremony with the ‘Maiwwage’ monologue from ‘The Princess Bride’. It was awesome and perfect, a great start to what we wanted to feel like a big party rather than a boring wedding.


